The description primarily applies to traditional windows, window doors and interior doors.
For mounting exterior doors, a frame screw is normally used and wedging takes place according to special instructions.
When installing windows with a retaining arch, special Z-shaped irons are needed to keep the window unit in place during installation.
Conditions
That the work step performed before this sub-step has undergone quality control.
Approved part according to control plan.
That materials and work steps meet MAS Home Improvement requirements for tolerance.
The opening in the wall has the right dimensions.
Material
Windows and doors must be stored upright and protected from moisture.
Fasteners: screw, nail or so-called frame screw, according to the documents.
Work step
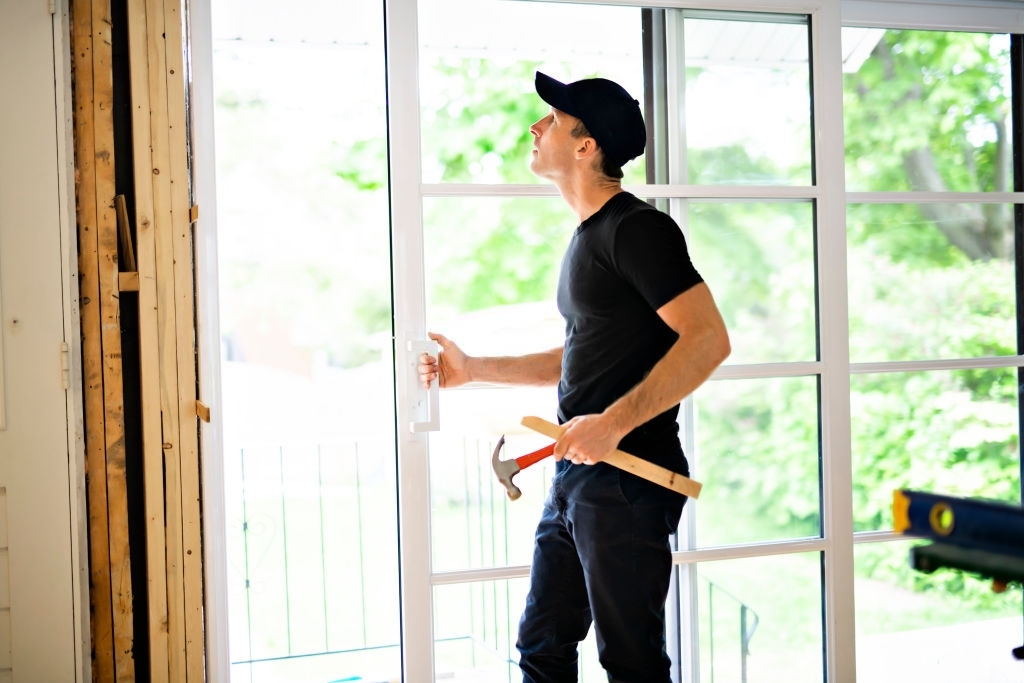
Window or door is lifted in place and wedged after adjustment.
When installing windows with remaining frames, for example pivot windows, the window unit is held during installation with Z-shaped iron which is threaded out at the top of the window through the joint between the frame and the wall.
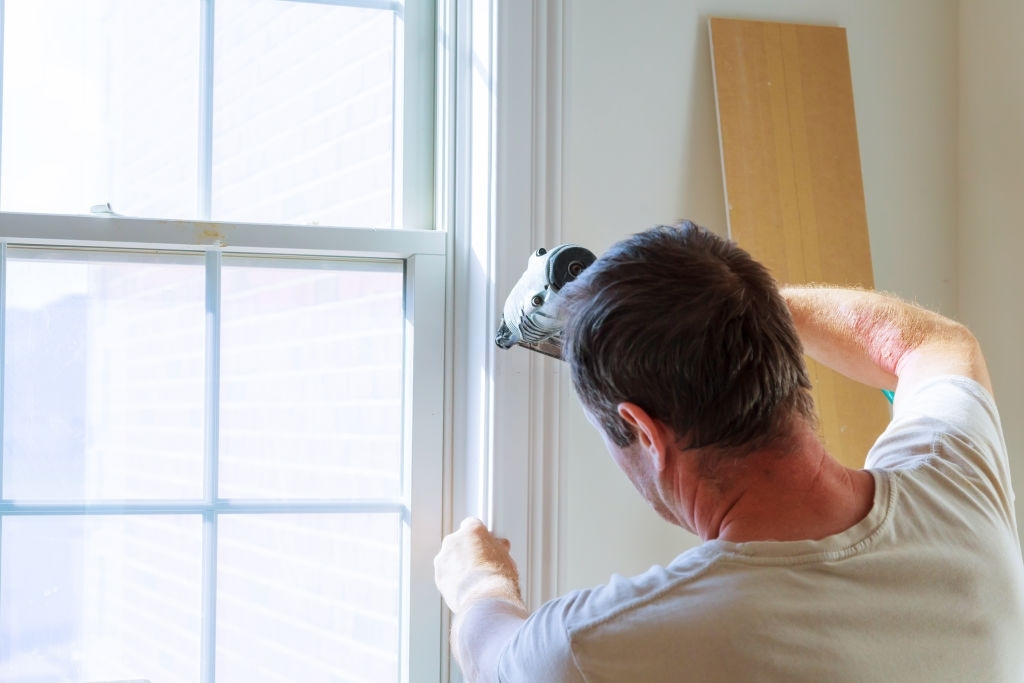
Then attach the frame to the wall in the prescribed manner with the intended fasteners, normally 2-3 per side.
The fasteners are placed according to the manufacturer’s instructions. Screw and nail are used together with wedges, frame screw without wedges.
After installation, the joint between the frame and the wall is sealed in the prescribed manner. The seal must not be made so that the frame is deformed.
Any sneak cladding is mounted and the joint between the frame and the wall is covered on the inside with a lining strip.
Externally, the joint is covered with lining boards, moldings or sealant.
The frame on the window is placed in the wall hole, approx. 3-5 cm from the front edge of the wall and fastened with wedges, so that the joint has the same width all the way around.
The bottom frame should be horizontal.
The frame is first attached to the two upper corners with frame screws then the two lower screws.
After that, the frame is mounted so that there is an even gap between the frame and the frame (adjustment can be made with wedges).
If the window is less than 100 cm high, use 2 frame screws on each side.
Is the window higher than 100 cm. several attachments may be necessary.
After installation, the window is “stopped” from the outside with insulating material such as rockwool.
Be careful not to touch the frame.
Insert the joint strip so that it is approx. 1 cm. from the front edge of the frame.
Finally, the window is joined with elastic sealant or joint tape.
The hinge side is soldered and fastened with 3-4 frame screws.
Then hang the door frame on the frame and adjust the frame with the wedges.
Hinge:
After installation, the hinges should be checked and adjusted for maximum tightness.
A good piece of advice is that the air distance between the upper frame and the door frame should be adjusted so that there is very little air in the handle side in relation to the hinge side.
This way the door can “sit down” without “dragging”.
Installation of door next to a side light / side section
If you choose to assemble a door yourself with a side section, you must be aware that the hinge side must always be mounted in a wall.
This is to provide more stability and to minimize the risk of the door hanging.
End result
Materials and work steps meet MAS Home Improvement requirements for tolerance.
Window or door is placed in the correct position.
Windows or doors can be opened and closed without difficulty and seal in the closed position.
Windows or doors are mounted in plumb so that the side-hung arch or door leaf when opened can stay in any position.
Suggestions for checkpoints
That materials and work steps meet MAS Home Improvement requirements for tolerance.
That the seal between the frame and the wall is made before the lining and moldings are put in place.
That the window can be opened and closed without difficulty. That the gap between the arch and the frame has the same width all around.
Also read about FRENCH WINDOWS: TYPES AND CHARACTERISTICS