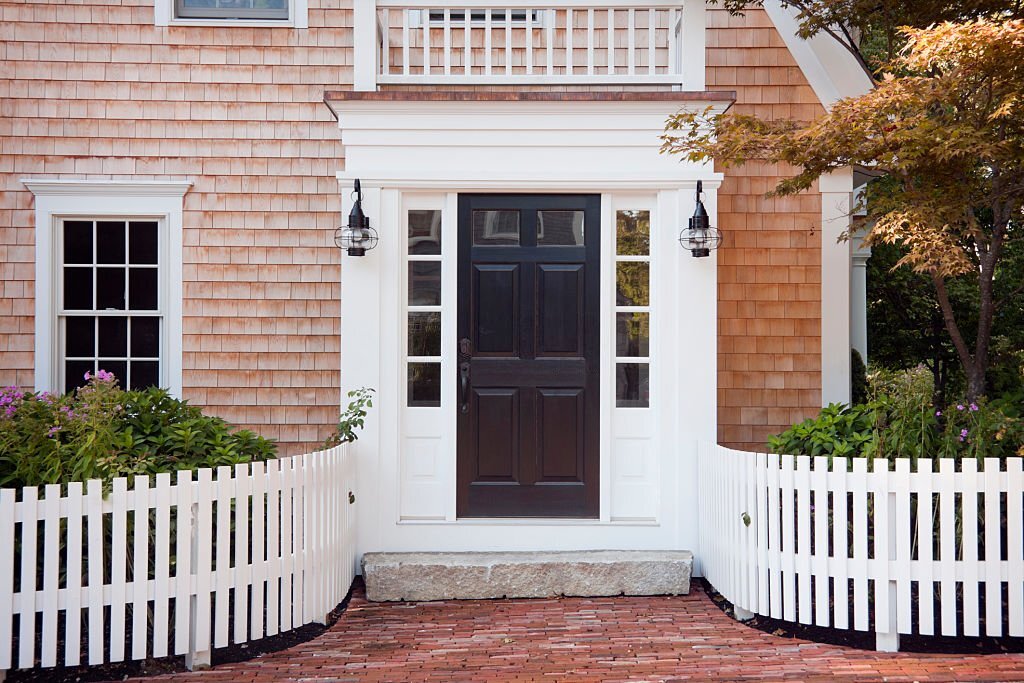
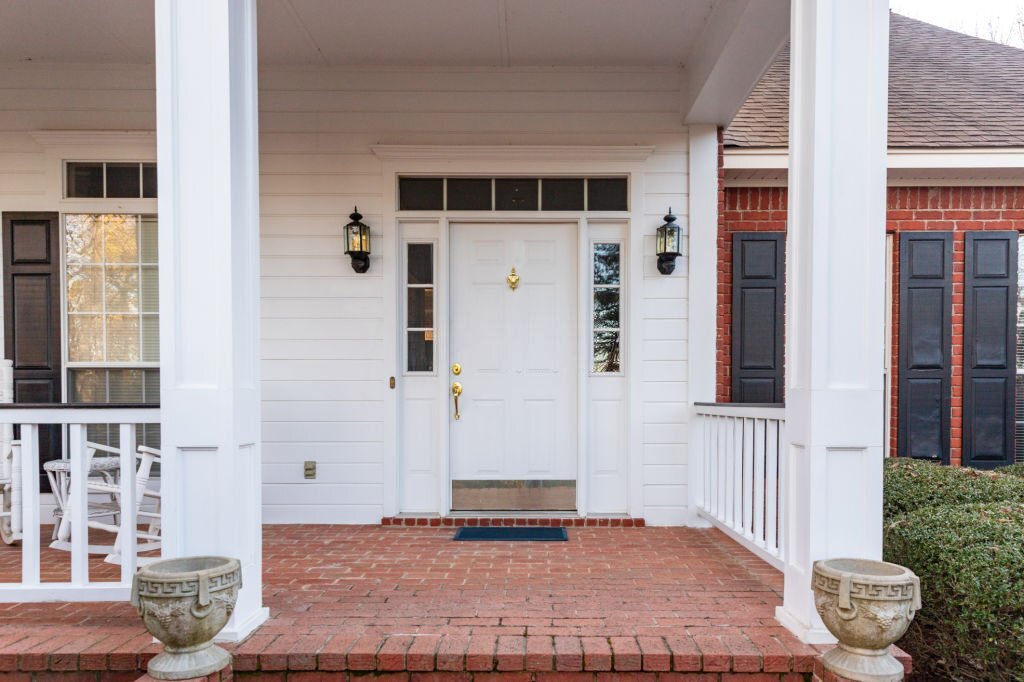
Front Door Replacement
Door replacement is a home improvement project that enhances both aesthetics and security. Swapping old, damaged doors with new ones can elevate a property’s curb appeal, improve insulation, and bolster safety. It’s a cost-effective way to revamp your home’s look and functionality while increasing energy efficiency. Front door replacement is something you don’t do too many times in your life. But once it’s on the agenda, it can be nice to hold someone’s hand along the way. Suggest our step-by-step guide. The door replacement project may sound more difficult than it actually is and we believe that together we can fix this.
Remember that two people make it easier when replacing a door, especially when installing. Ask a good friend or a dear family member. Follow the installation instructions carefully – for a door to last a long time it needs to be installed properly and correctly.
First things first – check two things before ordering a new door. The first is the door’s hole size and what material the frame should be attached to. To check this, loosen the cover strips, inside or outside, so you can both measure the actual size of the hole and examine what material it is – wood, concrete or brick.
How to replace an exterior door
Install your front door – step by step
- Start by placing the new door replacement on a suitable surface with the outside of the door facing down. Measure once more so that the dimensions are correct before you remove your old door. Then lift the frame so that the hinges can be easily detached from the door.
- Say goodbye to your old door and gently take it down. Should your new door be combined with side lights? Then assemble these together before they are lifted into place.
- Use custom adhesive or silicone to seal – carefully. Then adjust the door frame on top of the side light. You can then fix the side lights and frame with the mounting screws that come with it.
- Apply insulation (also called drive strip) around the wall opening.
- Lift frame and side light carefully into place.
- Place spacer blocks under the threshold, so it is level and stands firmly. Remember that the blocks must be placed directly under the frame sides as this is where the entire weight of the door is concentrated. Take out the spirit level, hold your tongue right in your mouth and measure carefully so that the threshold is level.
- Then tighten the door frame in the correct position. You do this by adjusting the pre-assembled sleeves so that the frame is plumb. Use a long spirit level to check. Fix the hinged side of the frame with the supplied mounting screws. Then hang in the door and screw the hinges.
- Now the door is stuck – time for a first test! Carefully close the door and check the gap between the door and frame. Adjust the gap at the top and bottom by raising or lowering the locking side of the frame.
- Be sure to use bricks of different thicknesses under the threshold. Make sure to adjust the mounting sleeves against the wall so that the entire door set is clamped. Use a long spirit level to check – both in height and sideways – before fixing the frame with the mounting screws.
- Adjust the end plate so the door works well with the frame. Check that the closing pressure feels good. Then seal with insulation and complete with moldings, lining, threshold plate and door brake.
- Well done, you have now replaced your front door!
For any extra advice you can contact us whenever you want on mashomeimprovement.com.